Thursday, June 9, 2011

Time of the Season & Raspberry Sorbet


Raspberries are back! I look forward to raspberry season, increasingly fleeting as it is, every year. It seems as though we had to wait a bit longer for the crops to come in and the benefit and availability to reach the fruit and vegetable market where I stock up on all my favorite summer fruits and veggies...cheaply. Fast approaching the end of my pregnancy, nearly 8 and 1/2 months, it's hard to find the stamina and drive to walk there in the heat, but yesterday, Daph (my husband), was sweet enough to take care of all of the shopping for me--Something he's been doing nearly all of lately. It's also hard to cook and bake, make everything look pretty and photograph all of it, too, but when I came across this simple and refreshing recipe for raspberry sorbet, I couldn't resist. I just adore fresh fruit sorbet during the warmer months. Just like last year's Watermelon Sorbet , this has easily made its way into seasonal rotation as a light treat I can get excited about.


Raspberry Sorbet
Recipe courtesy and adapted from Paula Deen


Ingredients:

•1 & 1/4 cups sugar (taste for sweetness after adding corn syrup and add more sugar if desired)
•2 cups water
•2 quarts raspberries, hulled and sliced
•Pinch of lime zest
•1/4 cup fresh lime juice
•1/2 cup white corn syrup


Directions:

Add 2 cups of water and sugar, plus lime zest to medium saucepan and cook over medium-high heat until boiled. Once boiled, simmer mixture of low heat until sugar is completely dissolved. Approximately 3 minutes. Do not stir. Remove pan from heat and allow to cool completely.

Add raspberries and lime juice to food processor. Mix until completely pureed. Transfer liquid mixture to strainer placed inside of bowl to remove seeds. You may have to press the mixture in strainer to push liquid through. I had to repeat process three times to completely remove seeds. It's worth it! Pour completely cooled simple syrup mixture into bowl with raspberry puree, add in corn syrup and stir well, until completely combined.


Carefully pour raspberry mixture into ice cream maker and churn according to your machine's directions. Sorbet will be soft when done but get firm in the freezer. Transfer sorbet mixture to freezer safe bowl and freeze until firm.

Tuesday, May 10, 2011

My 3rd Trimester & A Baby Update


Nothing has challenged every aspect of my being more than being pregnant with the complications I've battled these past seven months. The feeling of helplessness can be overwhelming, however, contrarily, so too is the imploring need to go on fighting and hoping and believing that everything will be okay.
Last Friday saw the start to my seventh month and third trimester. Several weeks before that I was dealt another in a growing list of scares when I experienced spotting and cramping. The baby and I appeared fine at the time so I was sent home. My doctor told me it seems my body is thinking it wants to go into labor and sent me for a seventh month ultrasound. My husband has been here visiting from Paris, France for weeks, so I was thrilled that he would get to see his son for the first time. It's been very hard for us enduring an international long-distance pregnancy. As one could imagine!


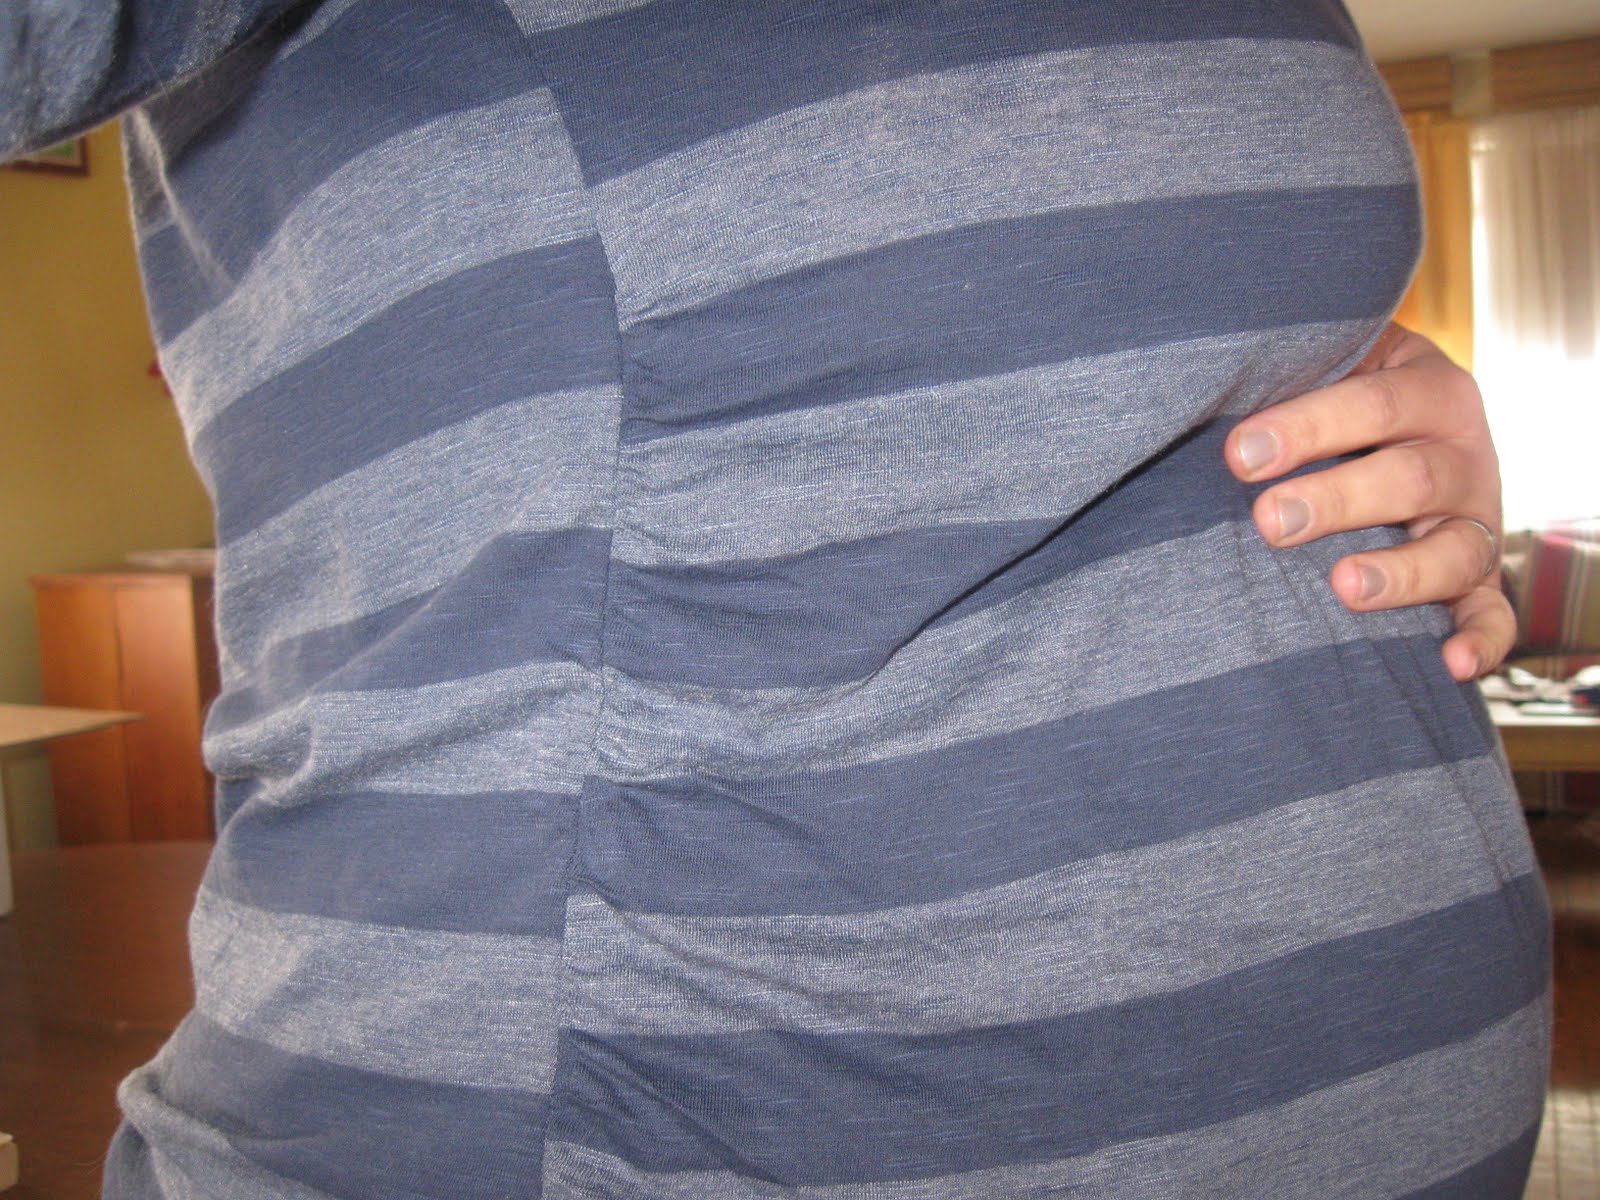
During my ultrasound the tech was very aggressive in an effort to see my cervix. As a result I began spotting, but felt fine otherwise. The doctor there told me that because of the size of my fibroids (benign uterine tumors), it's like I'm a month further along than I am... with multiples. That hasn't stopped my baby from growing to 2 lbs. 12 oz. already!
The following night, Saturday, I felt strange. It was as though the baby, who had been higher in my belly than is normal for months, had now moved lower and began turning. I also started to have more pains, contractions and pressure. On Monday I discovered I was bleeding and began to have a lot of pressure, almost as though my water was going to break. Daph rushed with me to the doctor's office so I could be examined. My doctor believed I might be going into labor and sent me to the bigger hospital, Brigham & Women's, for more testing.
There, they also believed I was possibly going into labor and did testing that disproved I was. After an ultrasound it was discovered the baby is now breech (turned head up, bottom down). The doctor said: 'Unfortunately, you just have some really gigantic fibroids and need to be monitered week to week.'
So that's where we find ourselves today...In truth, I know there's not much that can be done medically. My son's strength and fight astounds and encourages me. I continue to believe in him, and the miracle of his life, and the power of belieiving in good things. That's where I draw my strength. My husband and I are so proud of this little life that has blessed us with his existence and know we'll cherish this journey evermore when he's finally safe in our arms.

Sunday, April 10, 2011

Celebrating My Blogiversary & A Week late

When I began blogging a year ago I couldn't have imagined all the ways it would change and enrich my life. I started, like a lot of people, because I thought it would be fun to chart and share my experiences in cooking and navigating through the world as I was entering a new stage in my life where rebirth was the theme.

What surprised me was not so much the awakening of old passions, but the discovery of new ones. New friends. New ideas. New challenges. In many ways, a whole new life altogether. Though currently pregnancy with my first child and greatest blessing has temporarily slowed my contribution to the blogging community significantly, this is still my home online; The place I'll come back to when I resume cooking, when I've gone some place new, when My Pot Garden is sprouting, to share big news and, most importantly, to be a part of your journey too.

Expecting a baby boy this July on my 32nd birthday and moving to Paris, France shortly thereafter means there's yet so much to be lived and to be blogged about. Thank you to all my friends for the kindness and support you've shown me throughout this most magical year. I couldn't have done it without you.


My year in Milk, Sugar, Love...

Soft Pretzels


My very first endeavor in working with yeast and dough, Soft Pretzels were an instant hit that got better and better with practice. Baked with a brushing of butter and covered in mustard, eating one transports me to sunny days, late 1980's with my Gram on the Boston Common with a cup of lemonade and pretzel from the cart in front of Park St. station or front row seats at Fenway Park every time!

Chocolate Walnut Fudge Cake (with chocolate buttercream frosting)


Hands down my favorite Chocolate Fudge Cake. Rich, so incredibly moist, with the addition of a cup of hot coffee you can't taste but adds an unmistakable layer of complexity--This is my bliss!

Caribbean Chicken Salad


When it comes to cooking, there's probably nothing more satisfying to me than re-creating dishes and foods from restaurants and grocery stores at home in your own kitchen. Sweet and savory Caribbean Chicken Salad, re-created from a suspect in the chain restaurant Chili's lineup, had me going back for seconds sans the questionable ingredients and guilt.

Carrot Pineapple Cake


Last July on my 31st birthday I had my Carrot Pineapple Cake and ate it too. Never being a big fan of it before, I decided to expand my horizons and give it another go. Something I've learned to do since blogging...try new things. Consider me converted! Moist, sweet, subtly spicy with surprise pieces of juicy pineapple and luscious vanilla cream cheese frosting--this is worthy of celebrating any occasion.

Watermelon Vodka Sorbet


The dog days of summer hit hard this past August, but Watermelon Vodka Sorbet brought welcomed relief to my burning heart. After an agonizing wait for it to harden in the freezer, I gained a whole new appreciation for my favorite summer fruit.

Coffee Cannoli Ice Cream


I giggle a little whenever I think about Coffee Ricotta Ice Cream because that's where I got the (not so) brilliant idea to attempt making waffle cones using tape and parchment paper sans a waffle cone maker. Needless to say, that was a miserable failure. But the delicious ice cream, perfectly impressive on its own in a bowl, left me missing nothing!

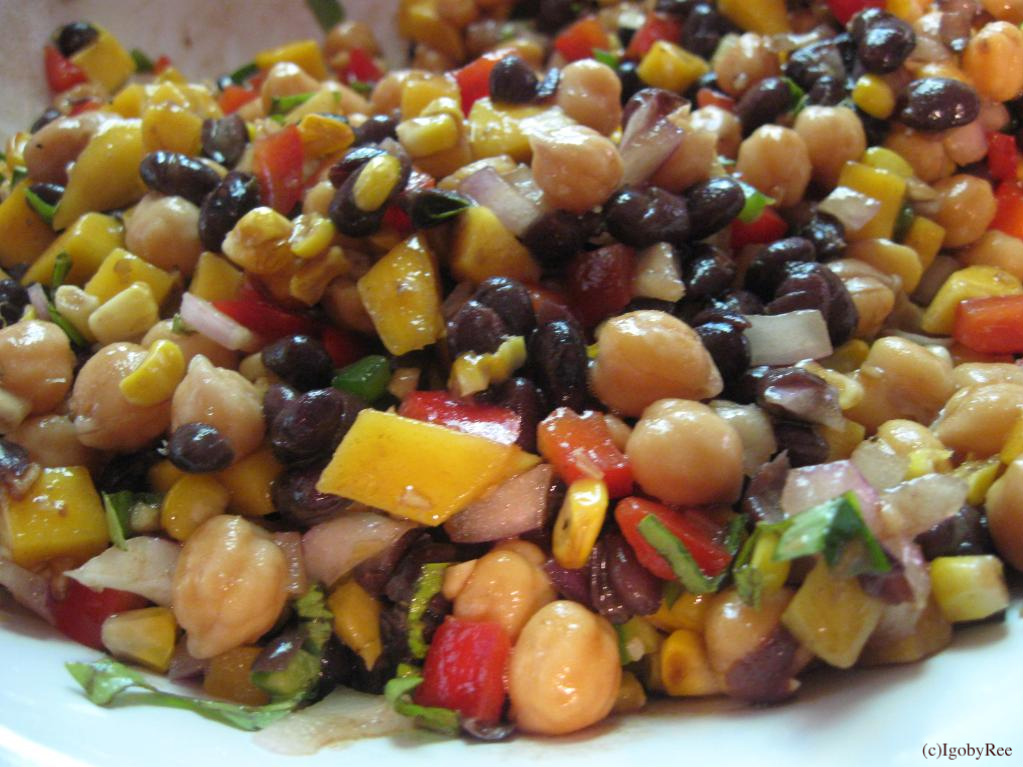
Corn and Two Bean Salad


Summer in a bowl, Corn and Two bean Salad is no short of a fiesta for your mouth. This confluence of vibrant, summer flavors was love at first bite.

Homemade Feta Cheese


My proudest cooking achievement to date, Feta Cheese took two attempts to succeed, but to try, try again taught me lessons I'll keep for a lifetime. Learning to trust my instincts yielded me the creamiest, freshest most delicious cheese I've ever had. And underscored the case for hard-work over convenience.

Tomato Feta Pasta Salad


Maybe my most gratifying of all the things I've made. Enjoying the fruits of your labor is one of the many rewards for time and effort. Using home grown basil, parsley, yellow cherry tomatoes and homemade feta in Ina's Tomato-Feta Pasta Salad added an extra note of satisfaction to this seasonal delight.

Lemon Lavender Sables


One of my birthday presents last year was a ticket to see Cirque Du Soleil's 'Ovo'. I wanted to savor the feeling of living out one of my dreams for the first time with something special. I used lavender from my pot garden to create these buttery 'ovo' (egg) & butterfly shaped Lemon-Lavender Sables. Which perfumed my home with the most divine scent that will linger in my heart along with the great memories of the show.

Peach Berry Pie


The second of four pies I've made in my lifetime, Peach Berry Pie will always hold a special place in my heart for giving me confidence and teaching me that the elusive flaky pie crust was a lot easier to attain than we've all been taught. Served with homemade vanilla ice cream, this was one sweet send-off to summer.

The Breads: Harvest Squash Bread


Honey Oatmeal Wheat Bread (with)Homemade Raspberry Jam)


Harvest Squash Bread for its dense, chewy rustic richness for which I savored dipped into Red Lentil Soup and then again with chunky peanut butter and jam slathered in between. Honey Oatmeal Bread, so sweet and soft. Heavenly covered in Homemade Raspberry Jam or turned into a turkey sandwich to end all turkey sandwiches.

Red Lentil Soup


Simple. Warming. Healthful. No need to wax poetic when something like Red Lentil Soup features only a few delicious ingredients, takes twenty minutes and refuses to boast herself. Add spoon, rustic bread and enjoy.

Cheese Stuffed Crust Veggie Pizza


With endless possibilities and, in this case, lots of cheese melted over chewy bread stuffed with more cheese, Pizza has got to be my favorite food EVER! I find something new, I fall in love, but it's Pizza I always come back to.


Bonus: Vanilla Extract


File this under the 'Why did I think of that before?' category. When I began blogging I started baking a lot more and thus found myself going through bottles and bottles of Vanilla Extract. Since I came across the über simple make-it-yourself version, made it and, after a month, got to taste how pure and rich it was, this is the only vanilla I use.

Monday, March 21, 2011

An Everyday Favorite & Squash Provencal


My grandmother stumbled across this recipe in one of her magazines. Now, I must tell you, most of her "finds" are downright inedible. She has a knack for coming across dishes that should have stayed undiscovered. But this gem was an instant favorite of mine. So much so, that several months into my pregnancy, completely void of an appetite and losing weight, this was the only thing I felt those nearly forgotten pangs of desire for once again. No bells and whistles here. Just simple, baked goodness. We usually have this as a main course, but it would work perfectly as a side to something light like fish, too.

Squash Provencal

Recipe courtesy and Adapted from Taste of Home

Ingredients:

2 cans (14-1/2 oz. each) stewed tomatoes, diced small (Or one 28 oz. can)
2 medium zucchini, sliced 1/4-1/2 inch thick
1 medium onion, thinly sliced
1 cup 10 minute white rice (uncooked) or Brown rice, partially cooked (I use the latter)
3 Tbsp. butter, divided
2 medium yellow summer squash, sliced 1/4-1/2 inch thick
Tsp. Garlic Powder
Tsp. Salt
1/2 Tsp. Pepper
Pinch of oregano
A dash of salt-free garlic and herb seasoning (Optional)
1-1/2 cups shredded part-skim mozzarella
2 Tbsp. grated Parmesan cheese


Directions:

Strain tomatoes over bowl, reserving juice; set aside. Grease 13-in. x 9-in. baking dish (I use a 33x23x5cm baking tray). Add layer of onion across bottom of baking dish, add layer of zucchini over onion, then sprinkle rice over zucchini. Dab casserole with Tbsp. butter. Add layer of yellow squash, top with tomatoes.
Add garlic powder, salt, pepper, oregano and garlic and herb seasoning, if using, to reserved tomato juice, pour juice over tomatoes. Dab casserole with remaining butter.
Bake covered at 350 degrees for 40 minutes, or until squash is tender when inserted with fork.
Remove baking dish from oven and uncover. Add layer of cheese. Return baking dish uncovered and bake until cheese melts and begins to brown, approx. 15-20 minutes. Allow to set up for a minute or two. Salt and pepper to taste.

Monday, February 28, 2011

Pregnancy Update: Week 19 & The Kick Inside


So much has transpired in the past 9 weeks. I don't quite know where to begin...

When I announced my pregnancy on my blog two months back I was merely 10weeks along. When I learned of some of the things that were going on with my body, I knew I would be facing a lot of challenges as the weeks and months unfolded. I couldn't have foreseen just how challenged every aspect of my life would become. I've been in some measure of pain since week two. The first three months of my pregnancy were spent in bed for the most part. One morning I woke up experiencing the worst pain followed by contractions I had ever felt. The contractions eventually subsided, but the pain persisted for days afterward. I was wrong when I thought it couldn't get much worse than that.

Come the arrival of week 14 I noticed myself become less fearful and more confident that, despite the abnormal amount of pain, everything was going to be okay. This would be helpful as I approached week 16 when the baby begins a three week growth spurt. Ouch! Weeks 17 and 18 were by far the worst. I was rushed to the hospital twice, the second time by ambulance. After days of what can only be described as horrifically excruciating pain, an inability to sit and lay, or stand without collapsing or upright at all, I found myself in the emergency room. Thank God for Dr. Melanie Smith!

My body had become so septic I remained very sore, weak and exhausted for several days after returning home. After everything the baby and I had been through, I was eagerly looking forward to making my 18 week ultrasound appointment; What's considered your first "official" ultrasound, where I'd hopefully learn the sex of the baby. There were several attempts, but finally the ultrasound tech announced: It's a boy!
Two doctors came into the room and looked mystified as they reviewed the poor shape I'm in internally, and this active, jumping, kicking, punching baby boy that continues to thrive and defy the odds. Of that, I had no doubt. Doctors still have no explanation for the pain I'm in. Or why my body is reacting the way it is to pregnancy. Or how it's possible I've been able to feel the baby move and flutter distinctly since week 7 or 8. Daph says the baby and I have a rare and unique connection. What I can tell you for sure is that this remains my greatest blessing and the most rewarding experience I've ever encountered. And if I vow to never do one thing in my lifetime, it would be question the existence of miracles and their ability to happen to you.

February 24th "official" ultrasound picture.

Monday, January 3, 2011

Thank You & Ginger Glazed Mahi + Shrimp


I want to thank everyone who commented on my previous post. Your words, kindness, support and encouragement deeply touched and mean so much to me. Blogging has been a happy occasion in what, over the past two years, has shaped up to be a very happy life. I'm so thankful to all of you for being a part of it.


Being pregnant can leave you in suspense a lot of the time. I never know from one minute to the next how I'm going to feel, or what and how much I'll be able to accomplish throughout the day. As a result, I attempt one thing each day in earnest, hope it gets done and live with everything else that hasn't. You'd be surprised at the things that start to fall apart after just a few days of neglect! Strangely, I find it liberating.
Alas, this also means some of the things I love so much, like blogging and reading yours, have taken a backseat to the precious and foremost priority I'm carrying.
Not to mention, my enjoyment of food these days ranges from fleeting to intolerant. Which poses a challenge for a mostly food blogger like myself.

I do have a few recipes that remain to be posted, and this is one of them. Heather of Girlichef selected the film "The Ramen Girl" as her movie of the month over at Food 'n Flix. I was excited to step outside of my culinary comfort zone to make something with a Japanese flare inspired by the film. This recipe was simple, quick and delicious. I loved the shrimp especially!


Ginger Glazed Mahi and Shrimp
Recipe courtesy and adapted from Allrecipes.com


Ingredients

3 tablespoons honey
3 tablespoons soy sauce
3 tablespoons balsamic vinegar
1 teaspoon grated fresh ginger root
1 clove garlic, crushed or to taste
2 teaspoons olive oil
4 (6 ounce) mahi mahi fillets
Or 1 lb. Shrimp
(I used a mix of both)
salt and pepper to taste
1 tablespoon vegetable oil

Directions

1. Add honey, soy sauce, balsamic vinegar, ginger, garlic and olive oil to shallow glass dish or baking pan. Stir together. Lightly season fish fillets with salt and pepper; peel shrimp (tail can be left on), add fish and/or shrimp to marinade, placing fish skin side down if has skin. Cover and place in refrigerator for 20 minutes.

2. Add and allow vegetable oil to become heated in large skillet over medium-high heat. Remove fish and shrimp from marinade, reserve marinade. Fry fish 4 -6 minutes on each side, turning only once halfway through, until fish flakes apart with fork. For shrimp: Repeat same process, cook shrimp on one side until becomes pink, turn and repeat on second side. Approximately a minute on each side. Both fish and shrimp could also be baked in oven.

3. Add the reserved marinade to skillet, over medium-high heat. Reduce until becomes glaze consistency. Pour marinade reduction over fish and shrimp. Serve immediately.

Seriously, try these shrimp!

Tuesday, December 28, 2010

The Miracle in Me & My Greatest Gift


When I noticed a bump, I suspected, but I said to myself 'too soon.' At that point, I would have only been within my first week. As the weeks progressed, and the tell-tale symptoms along with time, there was no more denying. I finally confirmed my pregnancy nearly four weeks later. When the pain in my lower back and abdomen began and then persisted, along with the growth of my belly, I knew something wasn't quite right. I had been feeling this way for a couple of weeks. Upon the reassurance of women who've had children before: 'You're fine', 'I experienced the same thing with my first.' 'That's normal.' and so on, I tried to let their words ease my fears, but in my heart, I knew differently.
After an agonizing 3 weeks of self imposed bed rest, my appointment with the Ob/GYN finally arrived. After the needles, exam and two types of ultrasound, my fears were confirmed. The size of my abdomen and pain were indeed an indicator of a problem. No poetic way to articulate this: I have a fibroids. Such is the case, my pregnancy is high risk. But my hopes remain higher than any risk could be.

Ultrasound: 12/21/2010


Today, I will venture out in the blizzard of '10 to my first appointment with the high risk Ob/GYN at Brigham & Women's hospital, where they specialize in such pregnancies.
Now upon my 10th (or so) week, I've decided I will allow myself to relish the glory of this tiny being becoming inside of my body, come what may. Something I, hitherto, was reluctant to do. Daph and I are overjoyed! We're becoming parents. WE'RE HAVING A BABY! I never thought I would be able to say those words, but it's true. I'm not dreaming.
I couldn't have imagined the fearlessness and unconstraint with which you could love another human being until the moment I learned that human being was beginning inside my own being. What an incredible thing!

Update: Earlier today I trenched through the 17 inches of snow and made it to my ultrasound appointment in tact. After a more in depth ultrasound I learned I have "innumerable fibroids" and an ovarian cyst. I'm the kind of person who thrives on information, no matter how bad or difficult it is to hear and deal with. So, aside from the natural fears and concerns, I also feel empowered. The baby's heart is beating at 171 beats per minute, and she/he is active. The baby seems as determined as I am to pull through okay.

Ultrasound: 12/27/2010


My Dearest Baby,

I will fight for you, with you, to keep you growing and strong in only the way a mother could. There is nothing stronger than the will of a mother for her child. 32 years ago on the day you are due to be born, I was born. This confirms everything I believed that, despite it all, ultimately only the best things were meant for my life. And equally, only the best things will be dreamed for yours.

I love You,

Mommy

Wednesday, December 15, 2010

& The Winner Is...

Katrina, number 5. Congratulations Katrina! I'm sure your daughter will enjoy her trunki.
Check your email shortly for the promotional code.

Thanks to everyone who participated!

Tuesday, December 7, 2010

CSN Stores Giveaway & I'm So Excited!

When CSN Stores contacted me and asked if I'd like to host a giveaway for my readers, I was super thrilled. Whether you're looking for Leather Messenger Bags, home decor, awesome cook and bakeware, or anything in between, CSN Stores has got you covered. If you haven't yet visited one of their 200+ websites, CSN Stores offer virtually everything. And today, they've generously offered a $55 dollar promotional code to one of my lucky readers. Now you're excited too, right? Good!

Here are just a few of the things I love.

David King Three Compartment Messenger Bag


Blissliving Home Gemini Pillow


Rachael Ray “Bubble & Brown” 2-Piece Stoneware Baker Set


Nordicware Kugelhopf Bundt Pan


*To Enter You must be a U.S. or Canadian resident. Sorry to the rest of my international friends.

*Leave a comment telling me how you'd like to spend the $55 dollars at CSN Stores.

* Additional entries can be made by leaving separate comments letting me know you've liked CSN on Facebook or follow CSN on Twitter.

*Don't forget to include your email so I can contact you when you win.


Giveaway ends December 14th, 2010 at 11: 59 p.m. EST. Winner will be chosen via random number generator.


Good Luck, Everyone!

Friday, December 3, 2010

Thanksgiving Pt. 2 & Cranberry Apple Pie


This, the second of our two Thanksgiving pies, is my new absolute favorite pie of all time. Hands down! Hitherto, I thought I didn't like apple pie very much (because I don't like most apples), but when I came across a recipe that called for green apples (the only apple I do like) I was eager to give it a try. And the addition of cranberries made it all but impossible for me to not make it. I had exactly two cups of Lee's lovely cranberries remaining in the freezer, waiting for the perfect excuse to be used. This. Is. Quintessential. New England. Served with homemade ice cream, whipped cream, or both, cranberry apple pie will happily make an annual return to the dining table come every holiday season. And maybe yours, too!


Cranberry Green Apple Pie
Recipe courtesy and adapted from Taste of Home


Ingredients:

1 & 3/4 cups sugar (I cut this down from the original two cups)

1/4 cup cornstarch

1/4 cup orange juice

1/2 teaspoon ground cinnamon*

1/2 teaspoon apple pie spice*

1/8 teaspoon ground nutmeg*

1/4 teaspoon lemon juice

4 cups sliced peeled tart apples

2 cups fresh or frozen cranberries

Pastry for double-crust pie (9 inches)

2 tablespoons butter

1 tablespoon each flour and sugar, mixed

In place of the spices called for, I used 1/2 teaspoon homemade apple pie spice blend and 1/4 teaspoon cinnamon.


Apple Pie Spice Blend

1 Tbsp. ground cinnamon
1 1/2 tsp. ground nutmeg
1 tsp. ground allspice
1/4 tsp. ground cloves

Add all ingredients to small bowl or zip shut bag and mix (or shake, in bag). Store remaining mix.


Directions:

Add first 7 ingredients to large bowl and stir to combine. To same bowl, add in sliced apple and cranberries; gently toss to coat. *See below for pie crust directions.
Sprinkle bottom crust with flour-sugar mixture. Add apple mixture to bottom pie crust. Add 1 & 1/2 tablespoons of butter in small pieces over apples. Add top crust; fold hanging edges underneath and crimp to seal. When pie is assembled, cut vents in top of crust to allow air to escape while baking.

Refrigerate pie while preheating oven to 450 degrees. Add pie to preheated oven and bake for 10 minutes. After 10 minutes, lower heat to 350 degrees and bake for 50-60 minutes or until top of pie is golden brown and filling is bubbling. Allow to cool and set before cutting.

Shortening-Butter Crust:

2 1/2 cup all-purpose unbleached flour, plus extra for rolling
2 teaspoon salt
3 tablespoons granulated sugar
1/2 cup Plus 1 teaspoon chilled vegetable shortening
1/2 cup cold unsalted butter, cut into 1/4-inch pieces
6 to 8 tablespoons ice water

Tools:

Rolling Pin
Wax Paper

To Sprinkle over bottom of crust before adding fruit:

Mix together 1 tablespoon each, flour and granulated sugar. This will help prevent pie filling juices from soaking through bottom of crust.


To Make Crust:

In standard sized food processor, or large bowl, process, or mix with hand mixer, flour, salt and sugar until combined. Add in shortening and process or mix until mixture resembles coarse sand, approximately 10 seconds. Add pieces of butter over flour mixture and process in 1 second pulses, or mix, turning hand mixer on then off, until pieces of butter are no bigger than small peas. Add 6 tablespoons ice water to mixture and, using a rubber spatula or hand mixer on low, fold in, or mix until just combined. Pinch dough with fingertips to be sure it sticks together, If not, add an additional 2 tablespoons ice water. Do not process or mix more than 30 seconds.
Turn dough onto work surface and gather into ball. Divide dough in half and flatten each into a round disk-like shape. Cover each with plastic wrap and refrigerate at least 1 hour before using.

After an hour, remove one round of dough from refrigerator. Measure out and lightly flour two equal pieces of wax paper. Place dough, in center, between two pieces of wax paper, begin to flatten round of dough with rolling pin. Give wax paper square a quarter turn after each roll. Roll dough two inches larger than inverted pie plate. (Place pie plate, upside down, over dough to make sure it's big enough.) Carefully remove only top layer of wax paper. Turn remaining wax paper holding dough, so that the dough is facing down, into pie pan. Make sure dough is even in pan. Carefully remove second piece of wax paper, which should be bottom side up. Brush off excess flour. Roll hanging dough under itself to crimp or cut off excess. Cover and refrigerate for 30 minutes. Reserve both pieces of wax paper and repeat process of rolling with second dough round, only this time, leave rolled out dough in wax paper and refrigerate until needed.

Related Posts with Thumbnails